Examining video footages can be tricky. A video of just a few seconds can contain a lot of data. This sometimes makes it difficult to comprehend what exactly you are looking at. Especially when there is a lot of movement in the video or when a video lasts longer than a few seconds. A solution may be to convert the video images into one image in which everything is visible: a panorama. In this blog we explain how you can do that.
The case: where was this video recorded?
Suppose you find the video on the right in an investigation. And suppose it is important to investigate where exactly this video was made. Then you will probably play the video several times to determine where the video was recorded. It is useful to listen to what you hear in the video. And to look at it of course: what kinds of things do you see that can point you to a location? Do you already have an idea where this video was shot?
First of all: what do you hear?
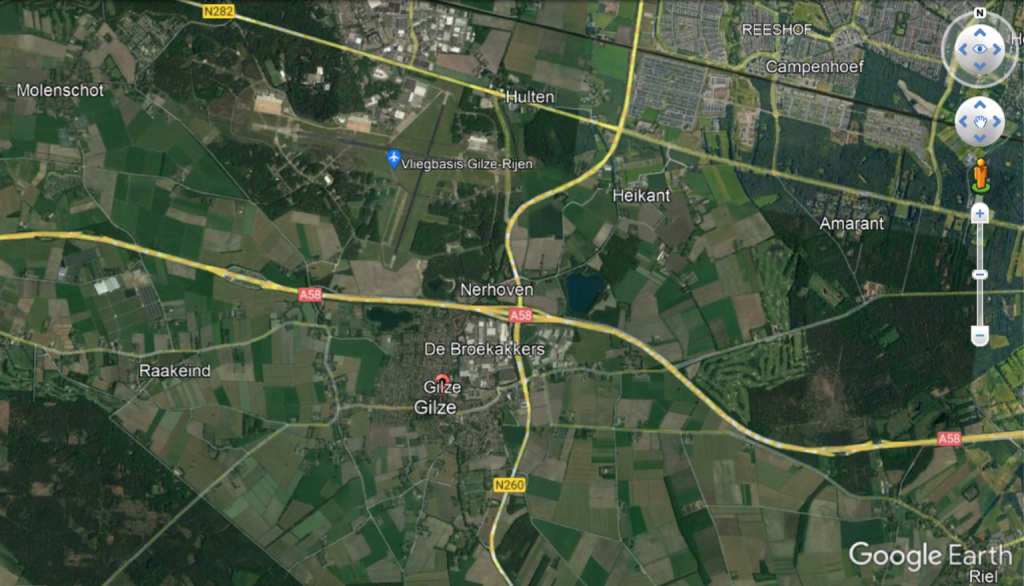
And what’s next? In the audio, you hear two things that may reveal a location. If you listen carefully you will first hear someone say: “If we took off in Rijsbergen and sailed towards Zundert…“. And a little later you hear the same person say: “This is Gilze’s airspace“. Now you know that the video was most likely recorded around Gilze in North Brabant in The Netherlands.
Next: what do you see?
Now that you know that the video was most likely shot near Gilze in The Netherlands, you can look for striking elements in the video that you can then search for on a map or on satellite images. We use Google Earth Pro for that. The tricky part is that the video consists of moving images, which makes it more difficult to find the images on a map. A handy solution is to first cut a number of images from the video and then paste them together.

Extraction of frames
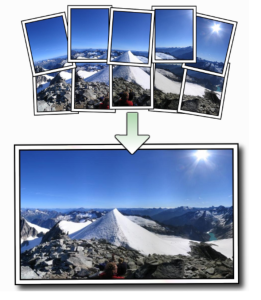
A video consists of a sequence of images which are also called “frames“. Each frame therefore contains a certain image of the entire video, which means that you can also view each frame separately. In this blog we use the frames of a video to convert it into one panorama: an image in which we can view the entire video. There are many useful programs (think of FFMPEG and VLC MediaPlayer) that extract frames from a video, but you can also do this manually. You do this by taking screenshots of different parts of the video.


Sticking the frames together
Now that you have several frames, you can glue them together to form a whole: a panorama. One program that does this stitching for you is AutoStitch. You only have to select the frames that you have made yourself from the video and the tool does the rest. Of course it is important that the frames you have chosen are good. Otherwise you will see a strange end result. Please bear in mind that AutoStitch is a third party tool. Its use is therefore entirely at your own risk.

The end result
Have you gone through the steps above? Then you will see a final result as below. Based on the panorama, you can now search a map or satellite images more specifically for matching buildings, roads, and so on. Can you find where this video was shot? Let us know in the comments!


Bavel, Netherlands (51.566436, 4.820185)